Bring Life to Your Walls: Essential Drywall Texturing Tips
A Comprehensive Guide to Mastering Drywall Texture and Transforming Your Space
Drywall texturing is one of the most effective ways to bring personality and dimension to your walls, making a significant difference in any room's aesthetic. Whether you're looking to cover imperfections in drywall and sheetrock or simply want to add some visual interest, mastering drywall texture is key. This guide will walk you through everything you need to know about drywall repair services and how to apply essential drywall texturing tips, from knockdown texture techniques to choosing the right types of textured walls.

1. Understanding Drywall and Sheetrock: The Foundation of Your Walls
Before diving into drywall texturing, it’s important to understand the materials you’re working with—drywall and sheetrock. Both terms are often used interchangeably, but they represent similar materials. Drywall is a gypsum plaster panel sandwiched between thick sheets of paper, while Sheetrock is a brand name of drywall, manufactured by the US Gypsum Company. The goal in texturing is to bring depth and life to this flat surface.
Key Considerations Before Texturing Drywall and Sheetrock
Before you begin, ensure the drywall surface is repaired and smooth. If there are any damages, dents, or cracks, it’s important to handle these first to ensure the texture you apply comes out even and professional-looking. A smooth drywall finishing process is essential to achieving the best results.
2. Why Texture Your Walls?
Adding texture to walls is not only a way to create visual appeal but also a functional method for covering flaws like small cracks, bumps, or dents in drywall. Textured walls also allow you to express personal style, whether you prefer a subtle texture like knockdown finish or a more pronounced texturing paint.
Advantages of Wall Texture Types
- Hides imperfections: Texturing drywall and sheetrock helps conceal minor flaws that are otherwise visible on flat walls.
- Aesthetic appeal: Different wall texture types can drastically change the look of a room, creating a more dynamic or cozy environment.
- Durability: Textured walls often hold up better to wear and tear, making them ideal for high-traffic areas in the home.
3. Popular Wall Texture Types: Choosing the Right Look for Your Space
When it comes to drywall texture, there are several kinds of wall texture to choose from, each with its own distinct look and technique. Here’s a breakdown of the most common textures to help you find the best fit for your home:
1. Knockdown Wall Texture
The knockdown wall texture is a popular choice due to its subtle and sophisticated finish. This type of texture involves spraying or rolling on a thin layer of joint compound and then “knocking it down” with a trowel to create a smooth yet bumpy texture. This creates a finish that looks elegant but is easy to achieve.
2. Orange Peel Texture
Orange peel texture gets its name from the look of an orange’s skin. It’s a slightly bumpy texture achieved by spraying a mix of drywall compound and water onto the wall and allowing it to dry.
3. Popcorn Ceiling and Wall Texture
Popular in older homes, popcorn texture is more commonly used on ceilings than walls, but it's worth mentioning. This texture is created by mixing drywall compound with a heavy aggregate and spraying it onto surfaces. Ceiling texture like popcorn can help with soundproofing but is more challenging to repair or remove.
4. Slap Brush Texture
This method uses a slap brush to create a random, spiked texture across your walls. It’s great for adding a unique, artistic flair.
4. Drywall Texturing Techniques: From Simple to Advanced
The process of applying texture to drywall can be broken down into a few texturing techniques. Whether you’re going for a light or heavy texture, each method requires precision and the right tools.
Spray-On Techniques
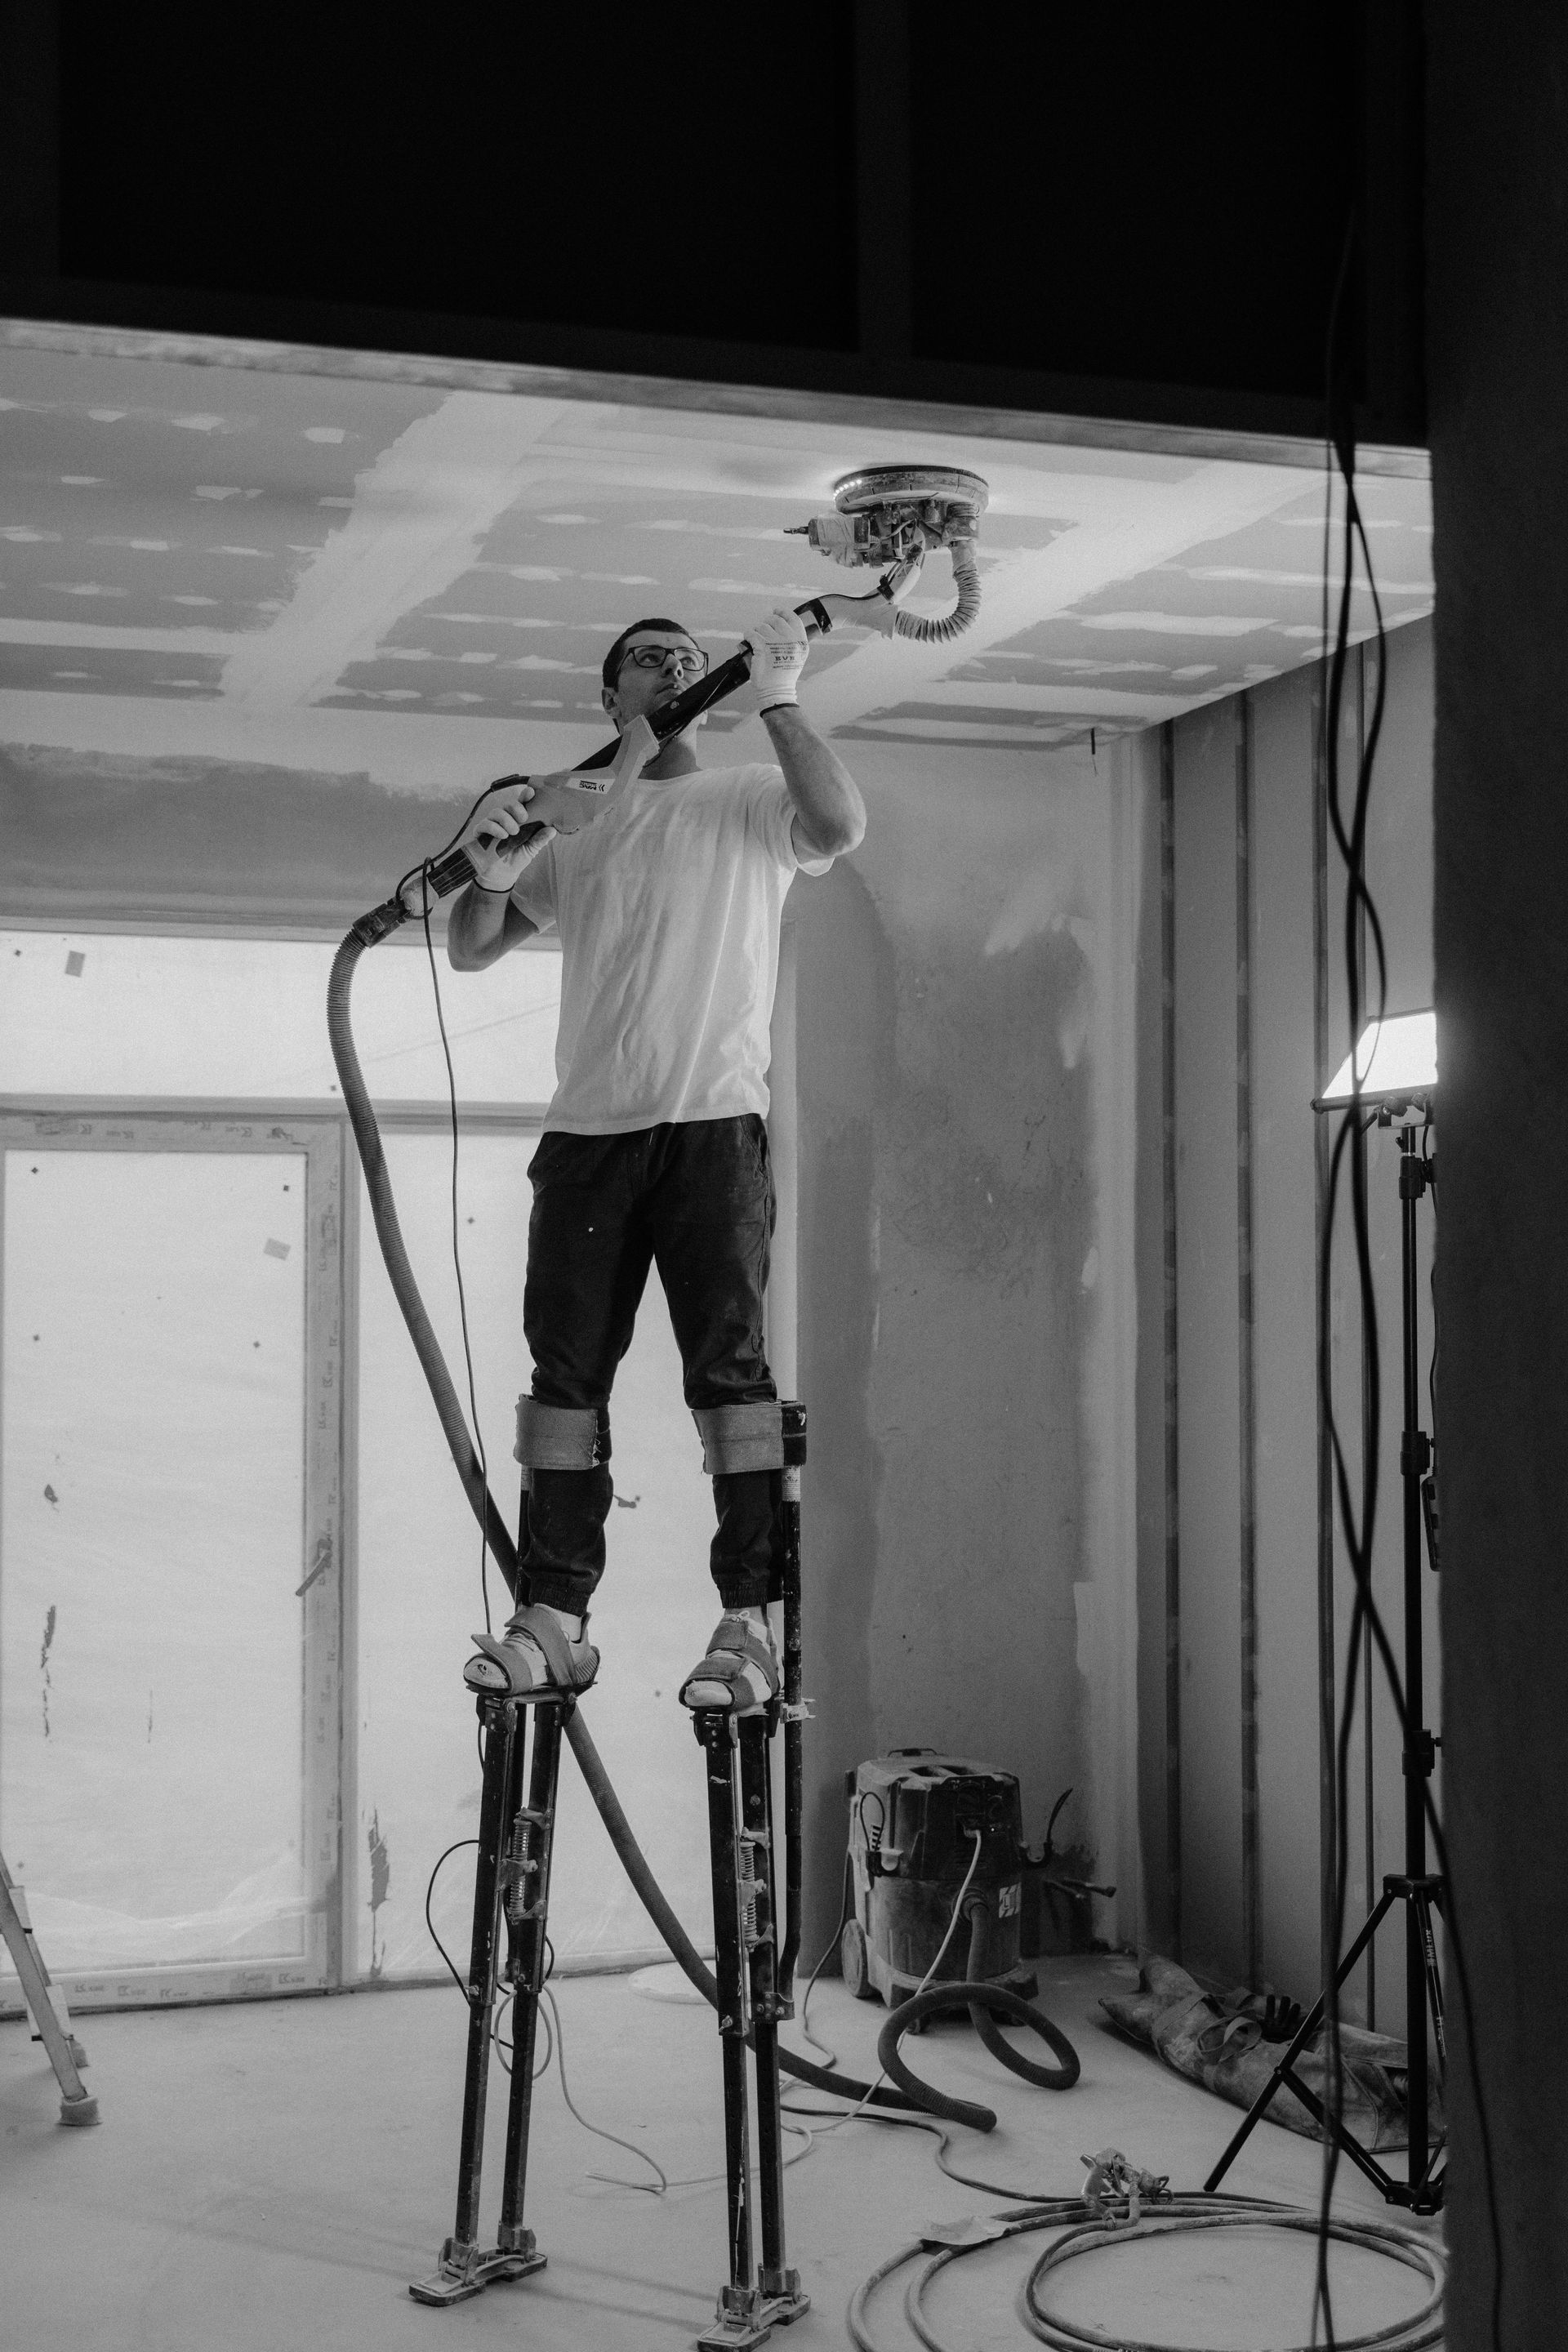
One of the most popular methods for texturing walls is texture spraying, where a texture sprayer is used to apply compound directly to the wall. This works especially well for large surfaces and ceilings where manually applying texture would be time-consuming. Knockdown finish, knockdown ceiling, and knockdown wall texture are often applied using a sprayer.
- Texture Spraying Tips: Ensure the sprayer is well-maintained, and practice on a scrap piece of drywall before applying to the wall. Adjust the nozzle for the right spray consistency depending on the texture type.
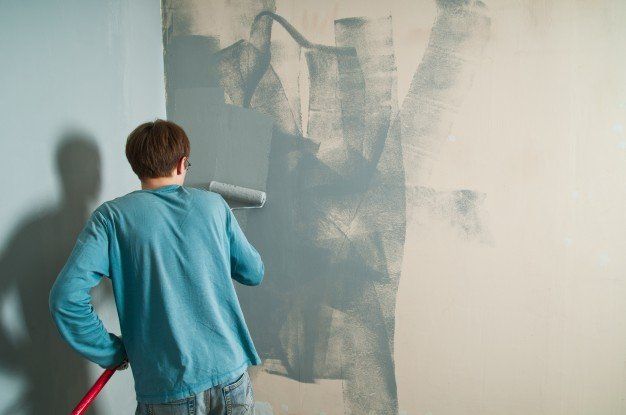
- Hand-Applied Techniques: For smaller areas or more intricate designs, you might opt to hand-apply textures. This includes rolling on a mix of texture to paint or using tools like a brush, trowel, or sponge to create unique textures. For example, you can combine texturing paint with brushes for a custom look.
5. Step-by-Step Guide to Applying Knockdown Texture
For DIY enthusiasts, creating a knockdown texture on walls and ceilings is a rewarding project. Here’s a quick guide to applying this popular texture:
Materials You’ll Need:
- Drywall joint compound (premixed)
- Texture sprayer or hopper
- Knockdown knife or trowel
- Plastic sheeting for protection
Steps:
- Prep the Area: Cover floors, furniture, and surrounding areas with plastic sheeting to protect from overspray.
- Mix the Compound: Mix the drywall compound with water until it’s the consistency of pancake batter.
- Spray the Compound: Using the sprayer, apply a thin, even layer of the compound across the wall or ceiling.
- Let it Set: Allow the compound to set for 10-15 minutes, but don’t let it dry completely.
- Knock it Down: Using a knockdown knife or trowel, lightly drag it across the compound, flattening the texture peaks.
- The result is a beautiful, custom knockdown finish that adds a unique look to any room.
6. Ceiling Texture: Adding Depth to the Fifth Wall
Texturing isn’t limited to walls; you can also add texture to your ceilings for an elegant or dramatic effect. Textured ceiling paint and drywall compound can be applied using the same techniques you’d use for walls. Whether you choose a knockdown ceiling or a smoother finish, ceiling texture can help to define a space or create visual interest overhead.
7. Maintaining Textured Walls: Tips for Longevity
Textured walls require some specific care to keep them looking fresh. Dust and debris can collect in the grooves of the texture, so regular cleaning is essential. Use a soft brush or vacuum attachment to gently remove dust from textured surfaces. Additionally, if damage occurs, patching up textured walls requires matching the texture, which can be tricky, so it's best to save leftover paint or drywall compound for touch-ups.
8. Troubleshooting Common Texturing Problems
No drywall project is without its challenges. Here are a few common issues that may arise during texturing, along with solutions:
- Uneven Texture: This can happen if the compound is applied too thick or thin. Ensure consistency in the drywall compound mix.
- Overspray: To avoid overspray, always test your sprayer on a piece of cardboard or scrap drywall.
- Drywall Cracks Showing Through: Make sure any cracks in the drywall and sheetrock are properly repaired and sanded smooth before applying texture.
9. Conclusion: Elevate Your Walls with Drywall Texturing
Texturing drywall and sheetrock is an art form that can completely change the look and feel of a room. By learning different texturing techniques, such as knockdown wall texture or experimenting with different wall texture types, you can create customized looks that hide imperfections and add visual depth. Whether you’re working on walls or textured ceiling paint, with the right tools and tips, you can bring new life to your space.
By following this guide and mastering the basics of drywall texture, you'll be well on your way to creating beautifully textured surfaces that transform any room in your home.
More From Drywall Contractor Pros
Book a Service Today
We will get back to you as soon as possible
Please try again later
Local Drywall Company Based In Arlington, Texas!
Working hours
- Mon - Sun
- -
Copyright Arlington Drywall Contractor Pros | Proudly Powered by Snapps | SEO By The King


